本文最后更新于:July 12, 2019 am
在五台CentOS7的虚拟机上尝试安装Zabbix4.2用来监控各个主机的运行状况。
1、master前期准备工作
1.1 关闭防火墙和SELinux
| sed -i "s/SELINUX=enforcing/SELINUX=disabled/g" /etc/selinux/config
sed -i 's/SELINUXTYPE=targeted/#&/' /etc/selinux/config
setenforce 0
reboot
systemctl stop iptables.service
systemctl stop firewalld.service
|

1.2 修改字符集
修改字符集,确保输出中文的时候不会报错
| localedef -c -f UTF-8 -i zh_CN zh_CN.UTF-8
export LC_ALL=zh_CN.UTF-8
echo 'LANG=zh_CN.UTF-8' > /etc/locale.conf
|
2、master安装Mariadb
2.1 安装Mariadb
需要安装一个数据库来存储zabbix监控时产生的数据,在centos7中,mysql被换成了mariadb
| yum install mariadb mariadb-devel mariadb-server
systemctl enable mariadb
systemctl start mariadb
|
2.2 导入zabbix初始数据
这里是官方的指导文档
https://www.zabbix.com/documentation/4.2/manual/appendix/install/db_scripts
|
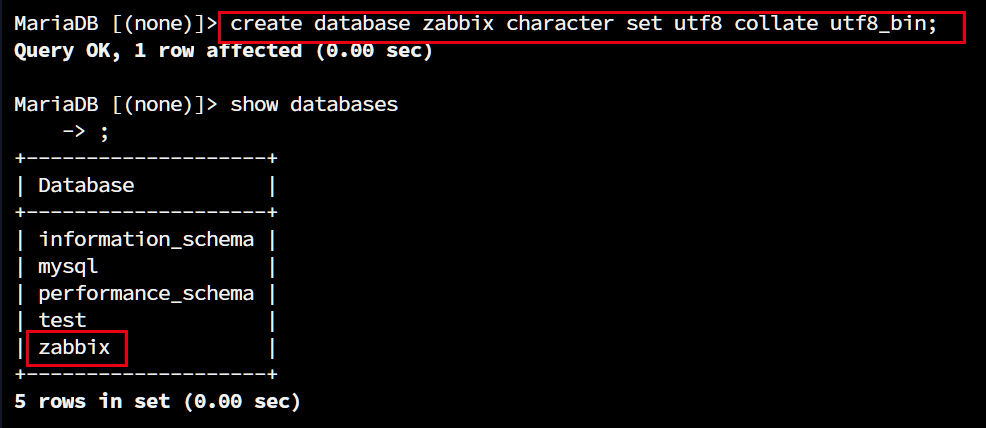
mysqladmin -u root -h localhost password 'xxxxxxxx'
mysql -u root -p
create database zabbix character set utf8 collate utf8_bin;
grant all privileges on zabbix.* to zabbix@localhost identified by 'xxxxxxxx';
|

3、master上安装zabbix-server
3.1 安装zabbix-server
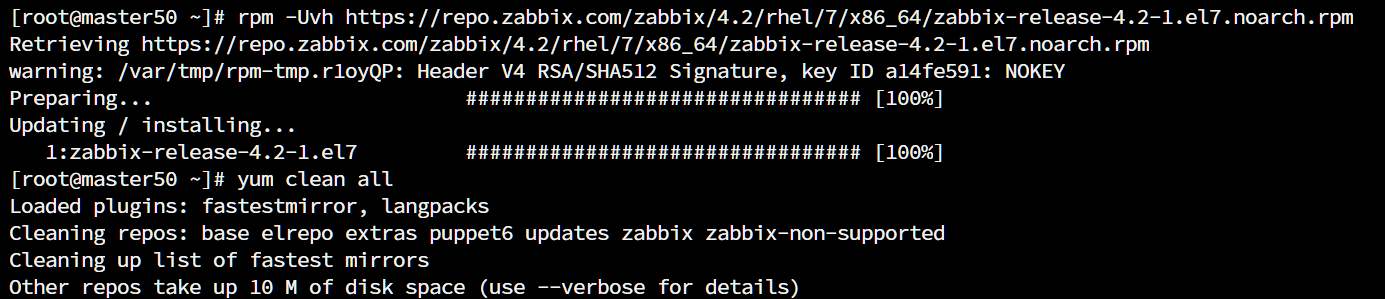
|
rpm -Uvh https://repo.zabbix.com/zabbix/4.2/rhel/7/x86_64/zabbix-release-4.2-1.el7.noarch.rpm
yum clean all
|
官网的yum源有些时候可能会连不上,我们也可以使用阿里云的镜像源。
| [zabbix]
name=Zabbix Official Repository - $basearch
baseurl=https://mirrors.aliyun.com/zabbix/zabbix/4.2/rhel/7/$basearch/
enabled=1
gpgcheck=1
gpgkey=file:///etc/pki/rpm-gpg/RPM-GPG-KEY-ZABBIX-A14FE591
[zabbix-non-supported]
name=Zabbix Official Repository non-supported - $basearch
baseurl=https://mirrors.aliyun.com/zabbix/non-supported/rhel/7/$basearch/
enabled=1
gpgkey=file:///etc/pki/rpm-gpg/RPM-GPG-KEY-ZABBIX
gpgcheck=1
|
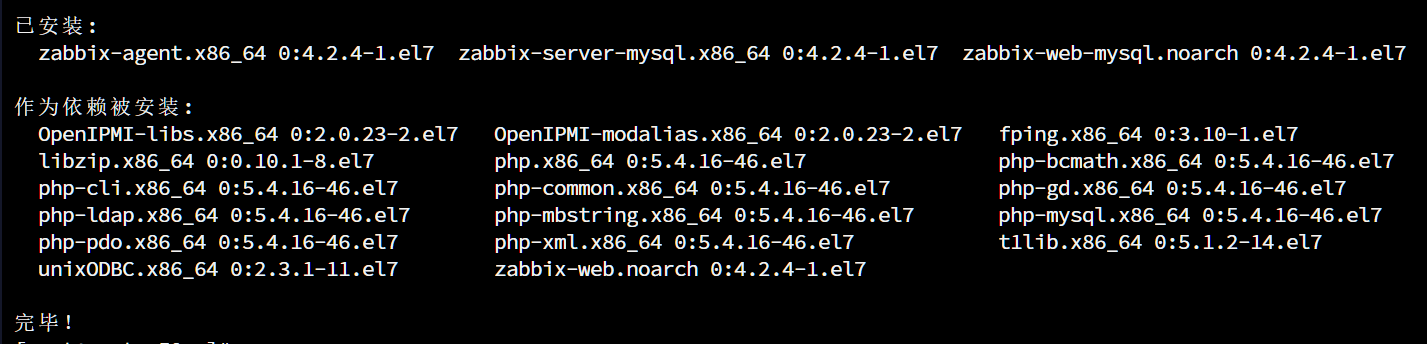
| yum install zabbix-server-mysql zabbix-web-mysql zabbix-agent
|
3.2 修改配置文件
|
vim /etc/zabbix/zabbix_server.conf
DBHost=localhost
DBName=zabbix
DBUser=zabbix
DBPassword=xxxxxxxx
|
|
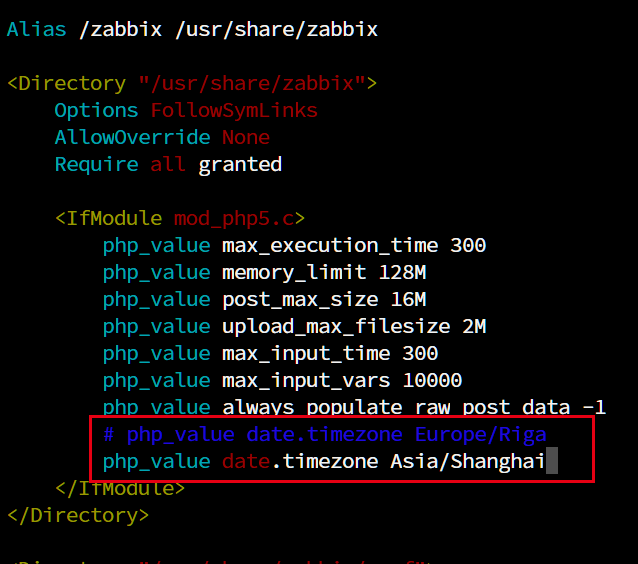
vim /etc/httpd/conf.d/zabbix.conf
php_value date.timezone Asia/Shanghai
|
3.3 修改防火墙设置
|
firewall-cmd --permanent --add-port=80/tcp
firewall-cmd --permanent --add-port=10050/tcp
firewall-cmd --permanent --add-port=10051/tcp
firewall-cmd --permanent --list-all
|
最后我们需要重启zabbix服务、httpd服务和firewall服务使得修改的配置生效。
| systemctl restart zabbix-server zabbix-agent httpd firewalld
systemctl enable zabbix-server zabbix-agent httpd firewalld
|
3.4 导入数据库
|
zcat /usr/share/doc/zabbix-server-mysql*/create.sql.gz | mysql -uzabbix -p'xxxxxxxx' zabbix
|
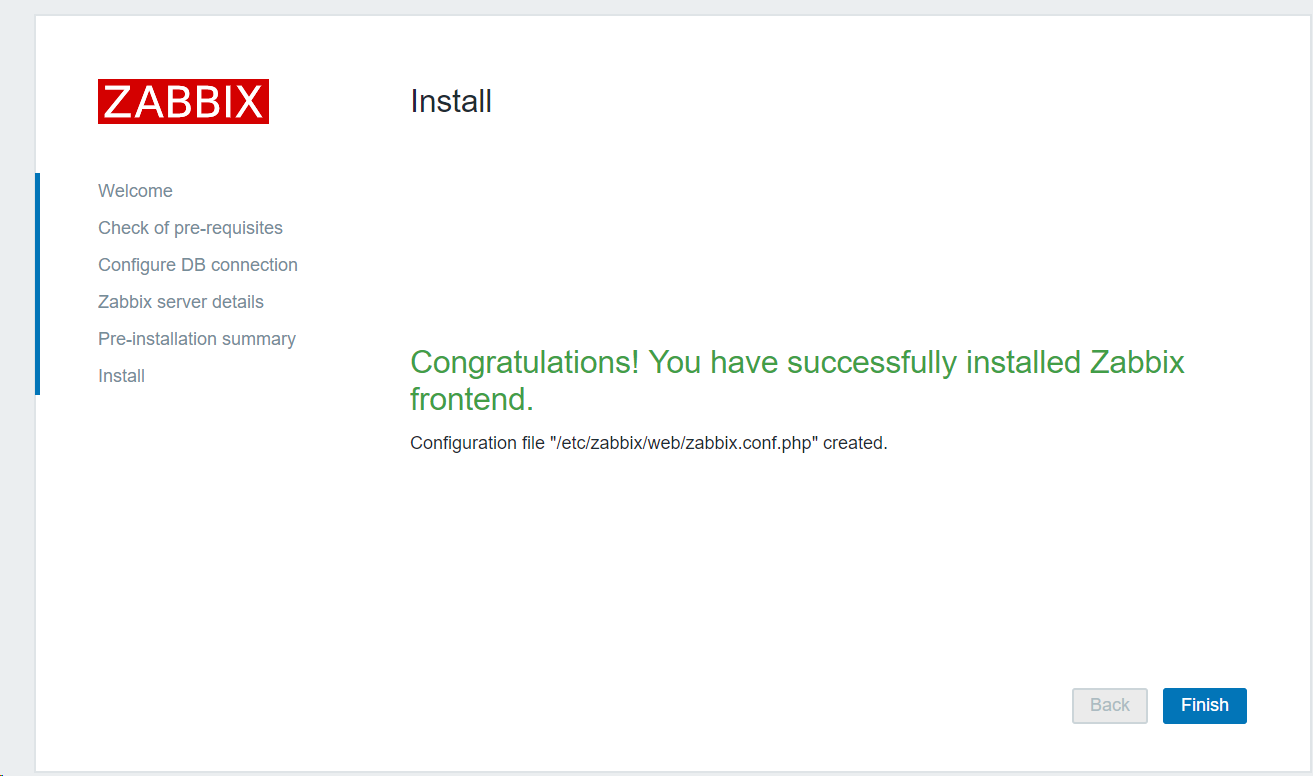
4、设置zabbix-server的web端
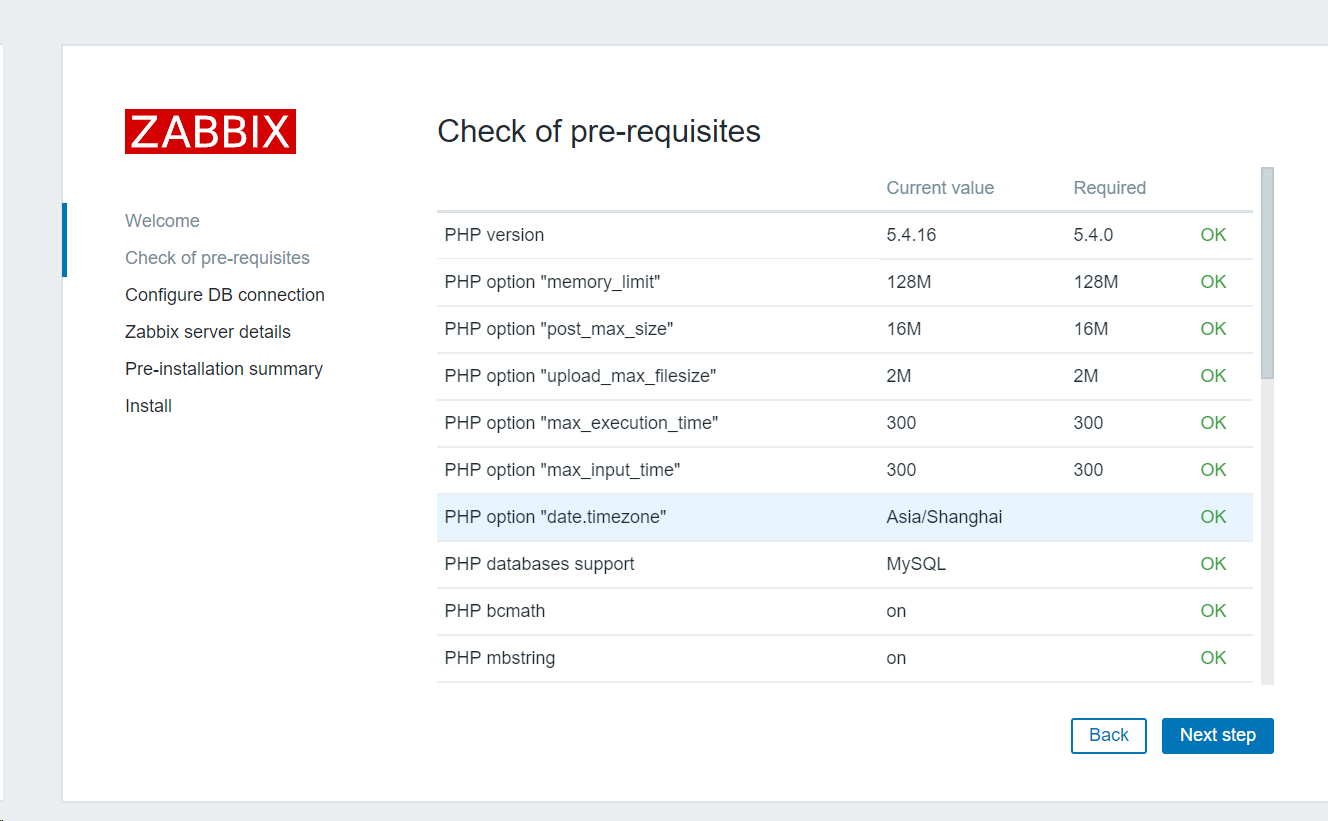
在和master同一局域网内的任意电脑的浏览器上输入zabbix-server的IP地址加上/zabbix


点击next step,我们回发现有一堆的前置要求,如无意外,应该全部都是ok
接下来我们输入之前在数据库中创建的zabbix用户的账号密码
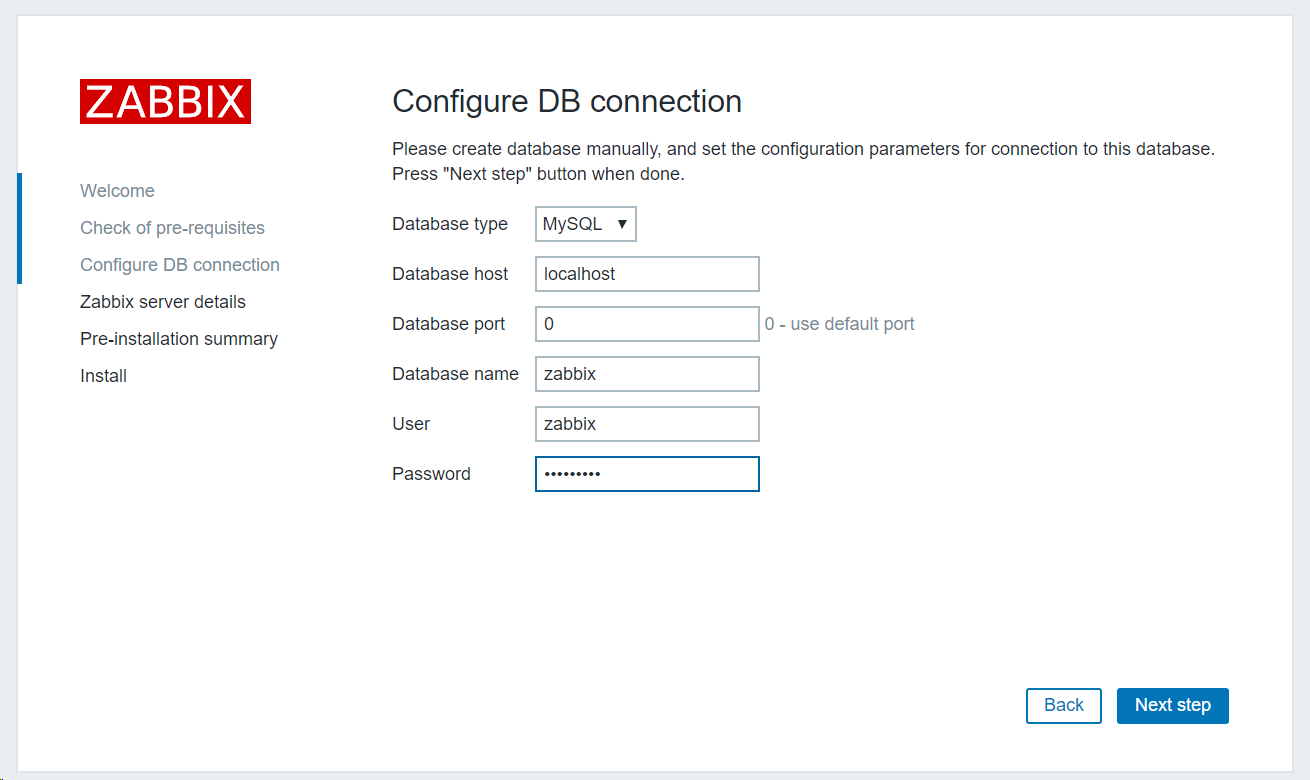
name这里我们输入一个自定义的名字方便确认,当然也可以不输入留空
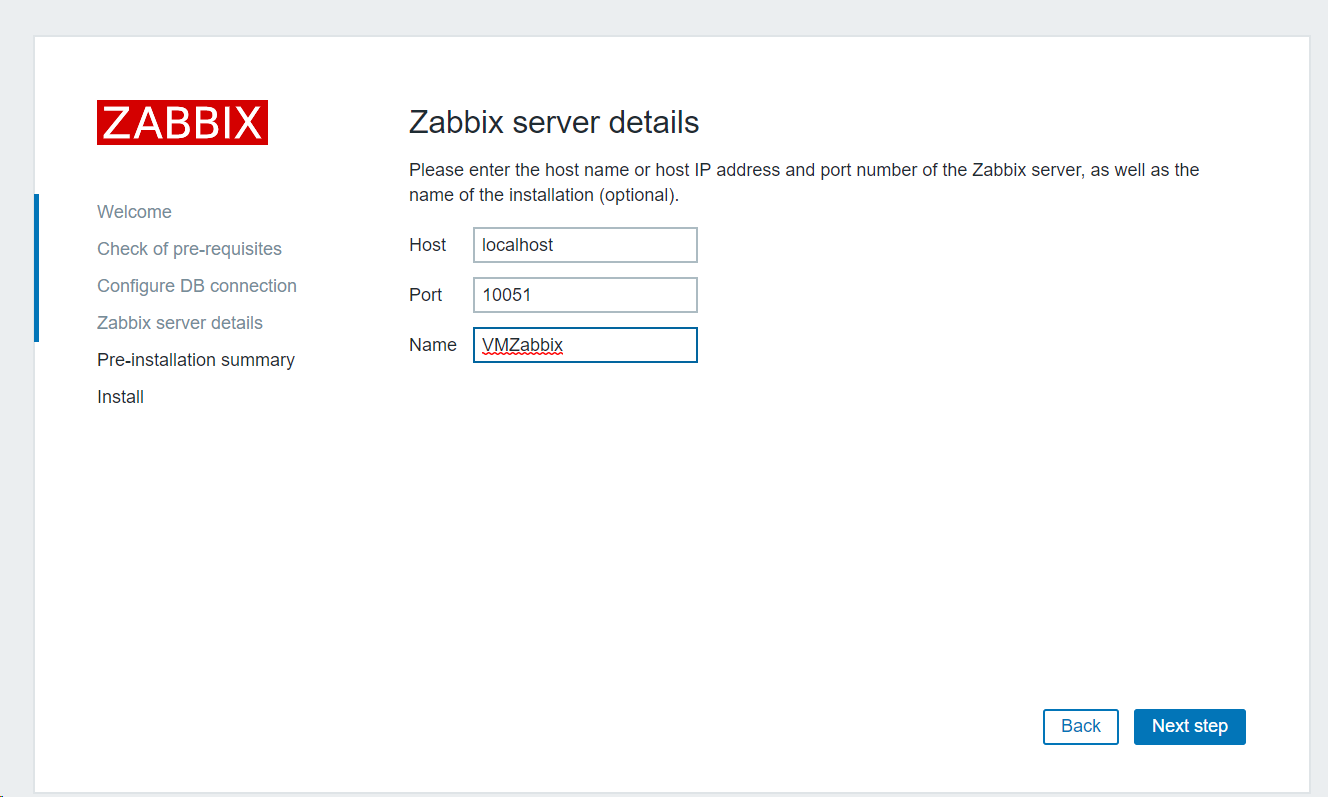
最后我们确认一下即可。
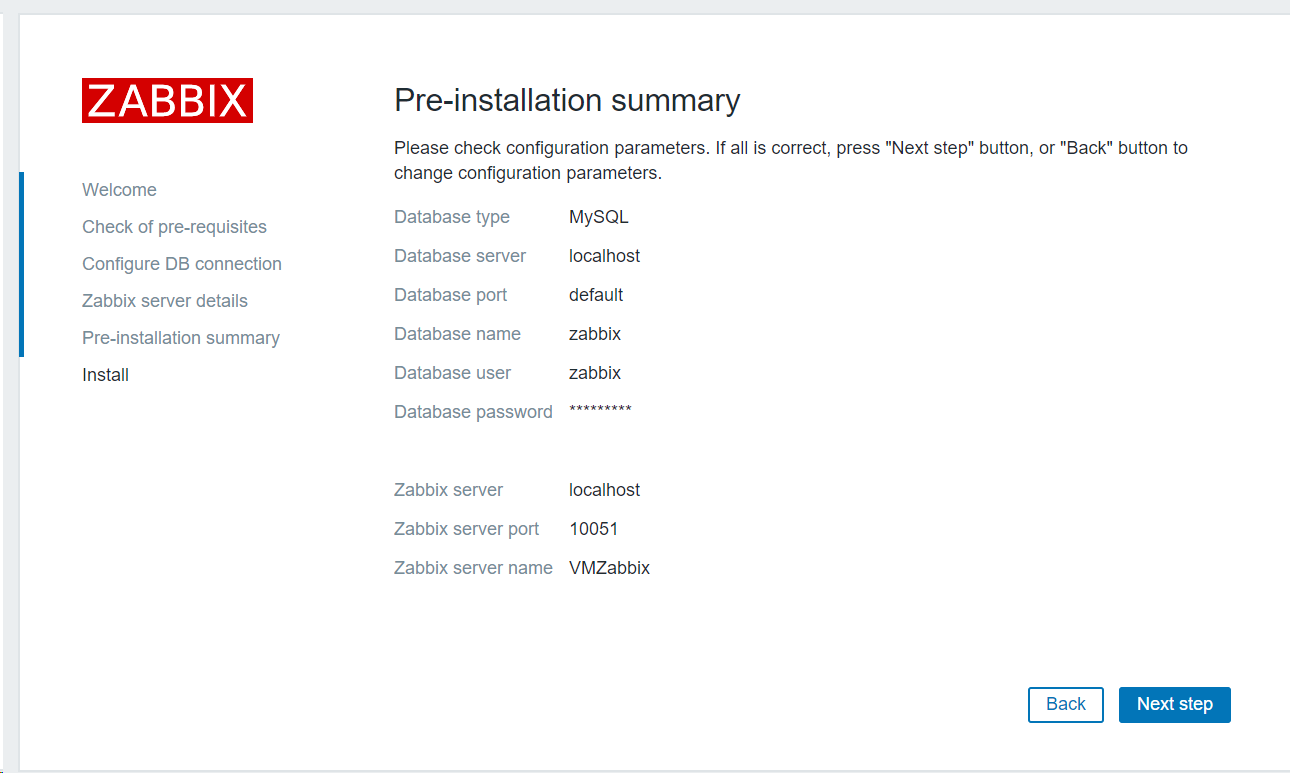
我们可以看到上面的所有配置都保存在了/etc/zabbix/web/zabbix.conf.php这个配置文件中,需要的话我们可以随时修改。
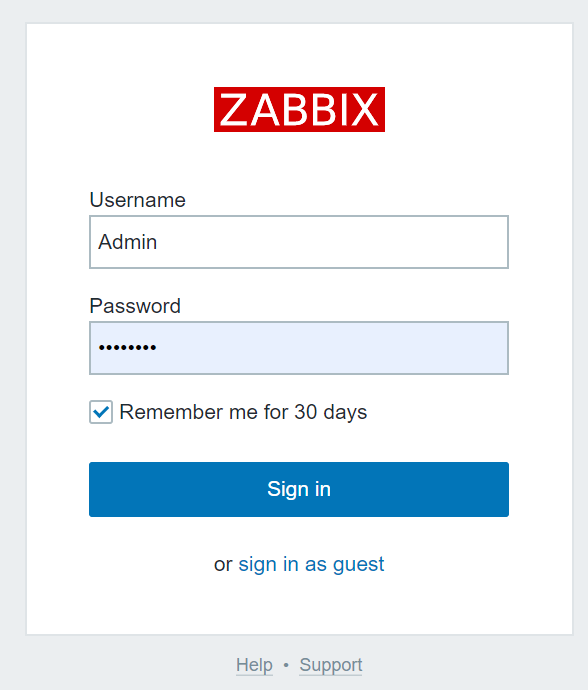
默认的账号是Admin密码是zabbix,注意A要大写。
接下来我们要修改密码并开启中文支持
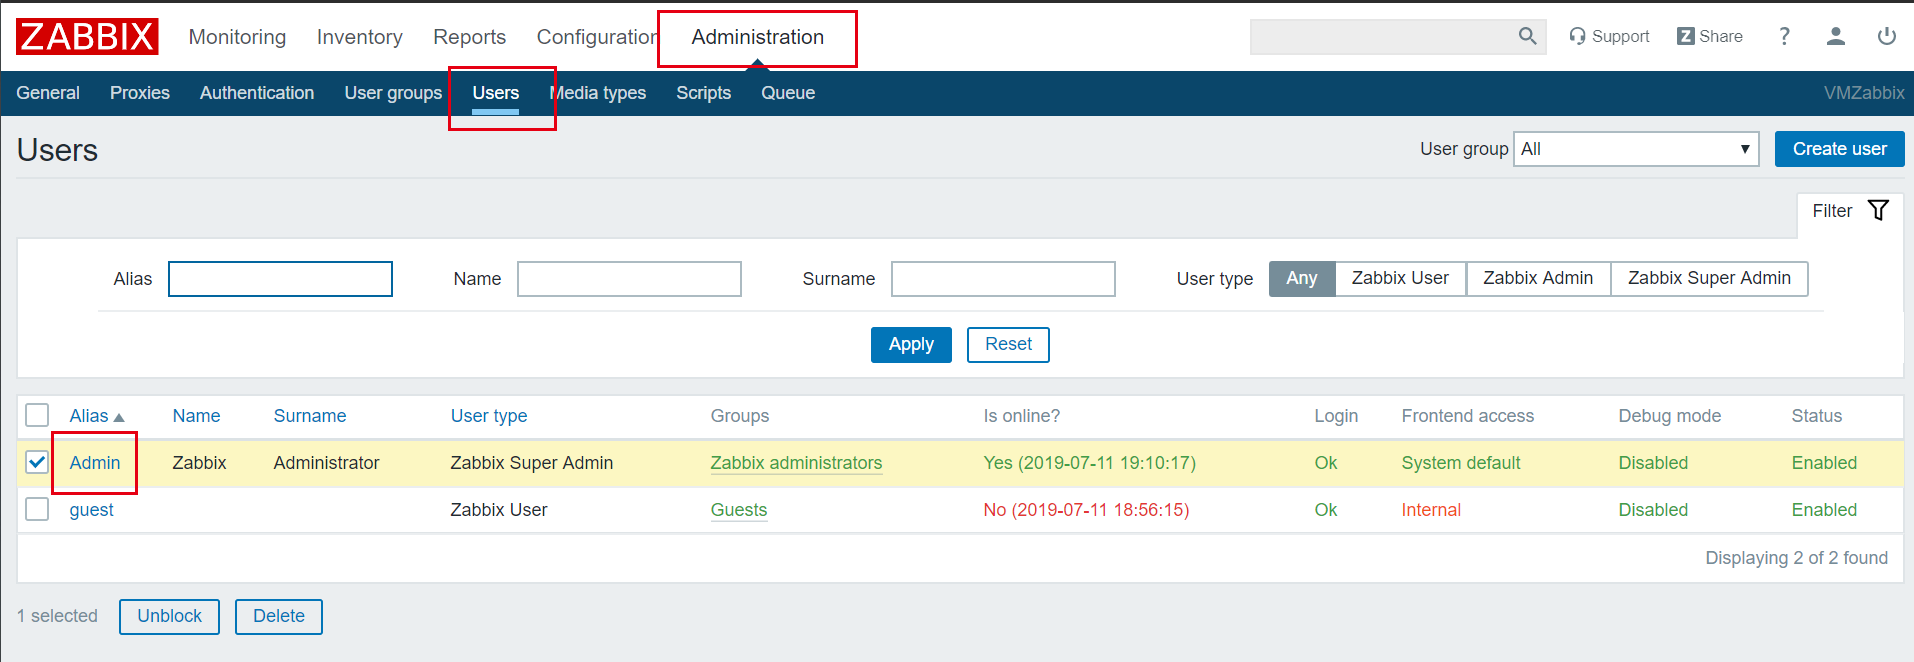
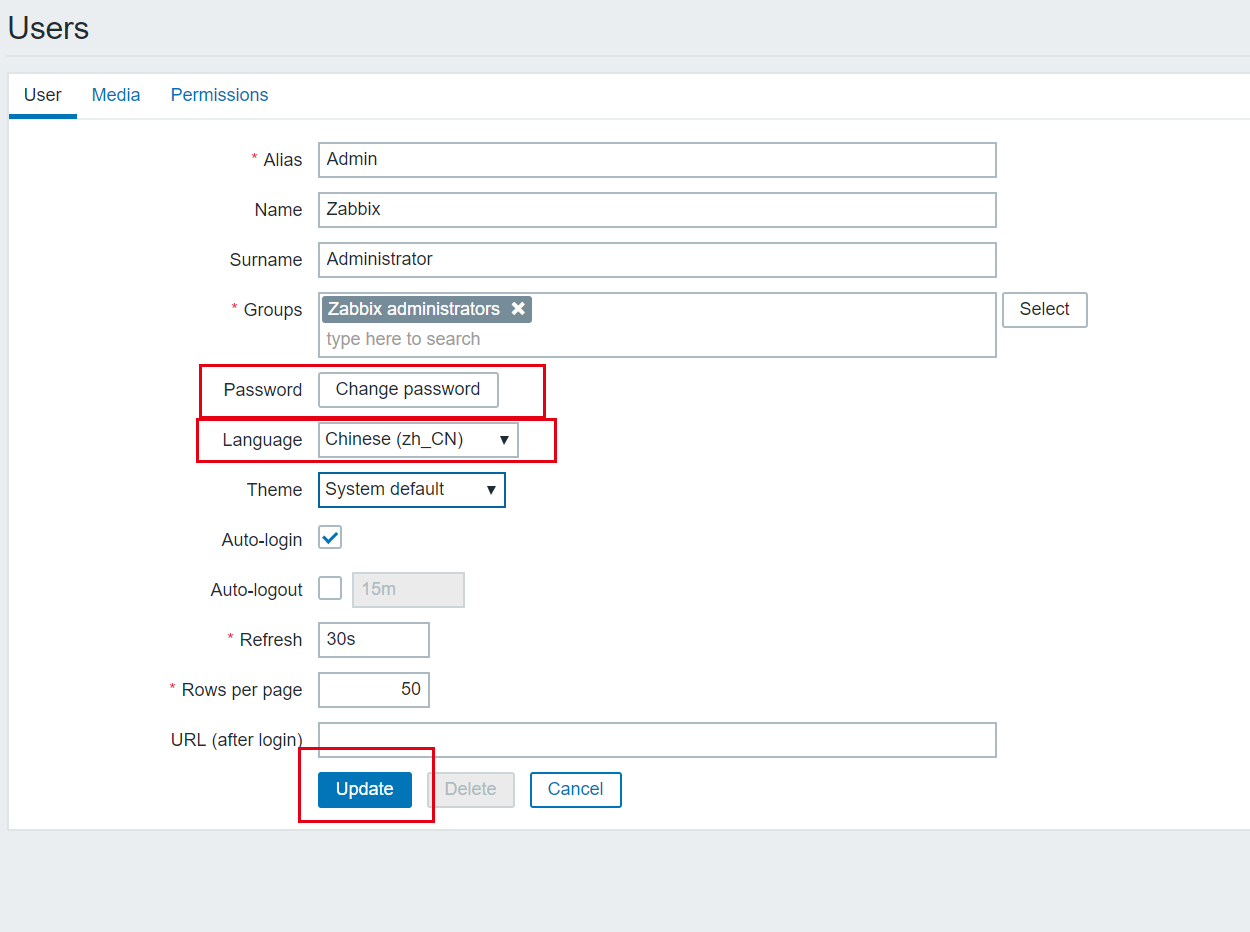
然后重新登录就能够生效了。
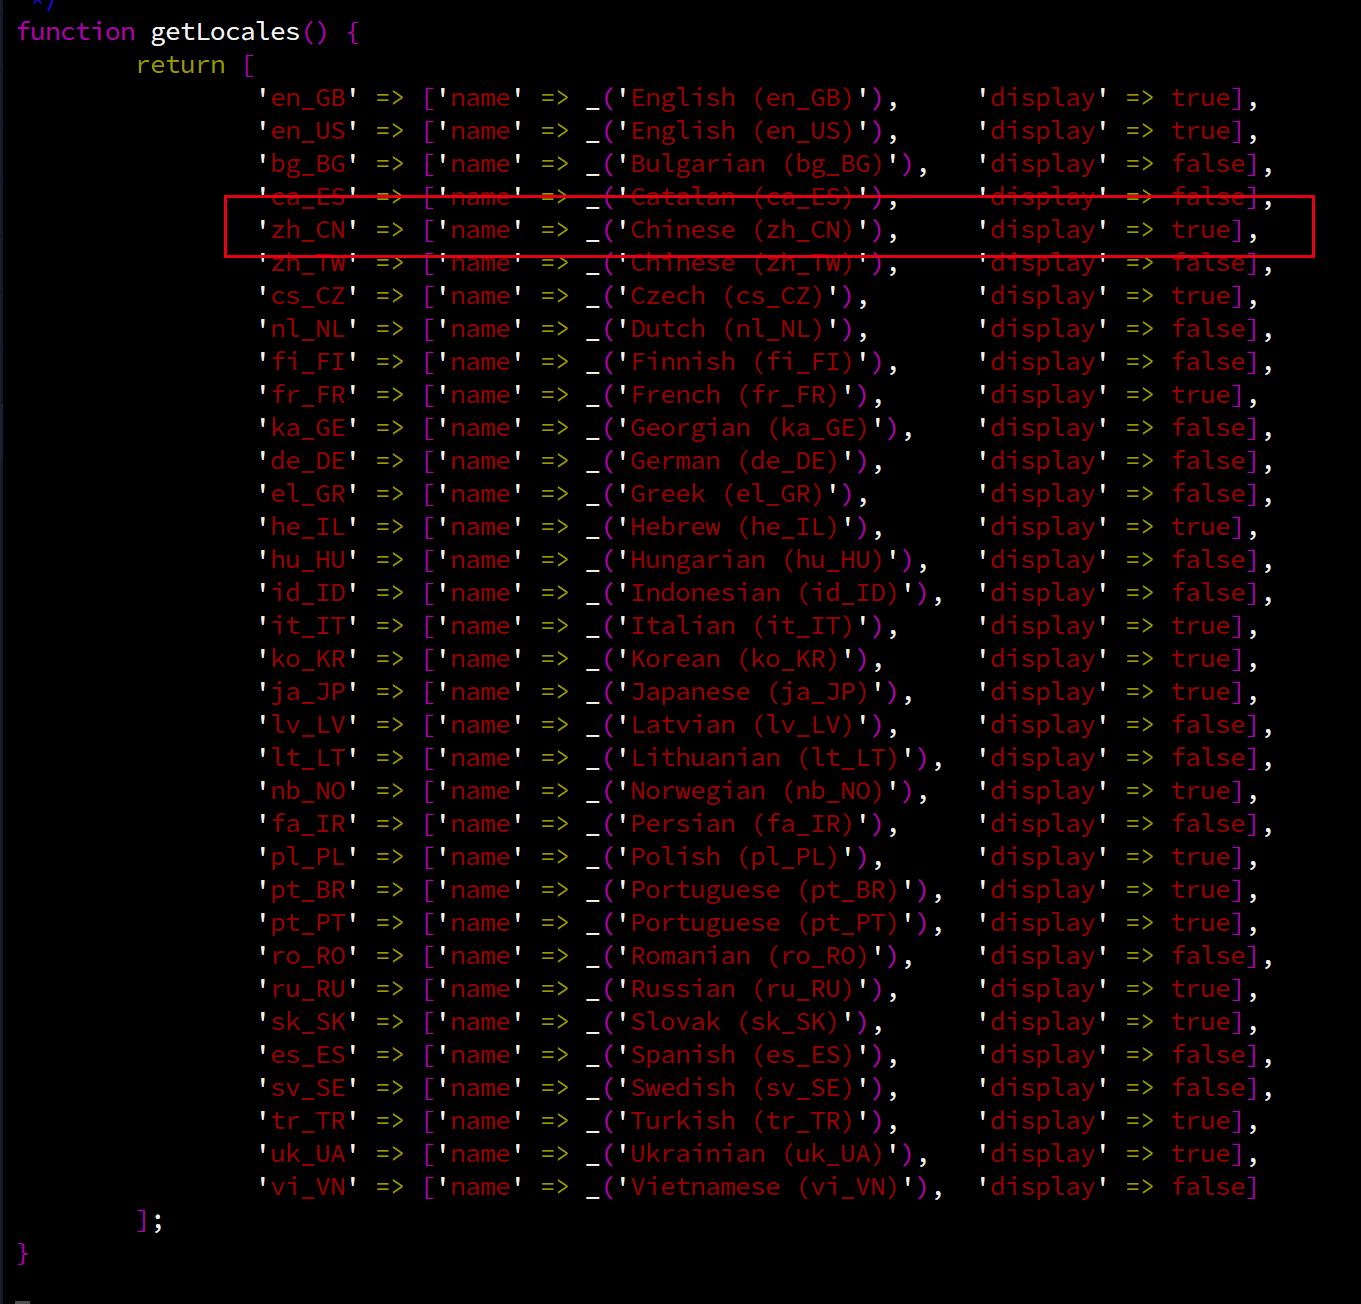
如果在语言列表里面没有找到中文的,检查一下/usr/share/zabbix/include/locales.inc.php这个文件的chinese这一栏是否为true,如果不是,修改之后重启zabbix即可。
这里补充说明一下,如果需要在外网能够访问zabbix的web监控端,需要给该master分配公网IP或者是端口转发或者是设置frp反向代理。
5、agent上安装zabbix-agent
5.1 安装zabbix-agent
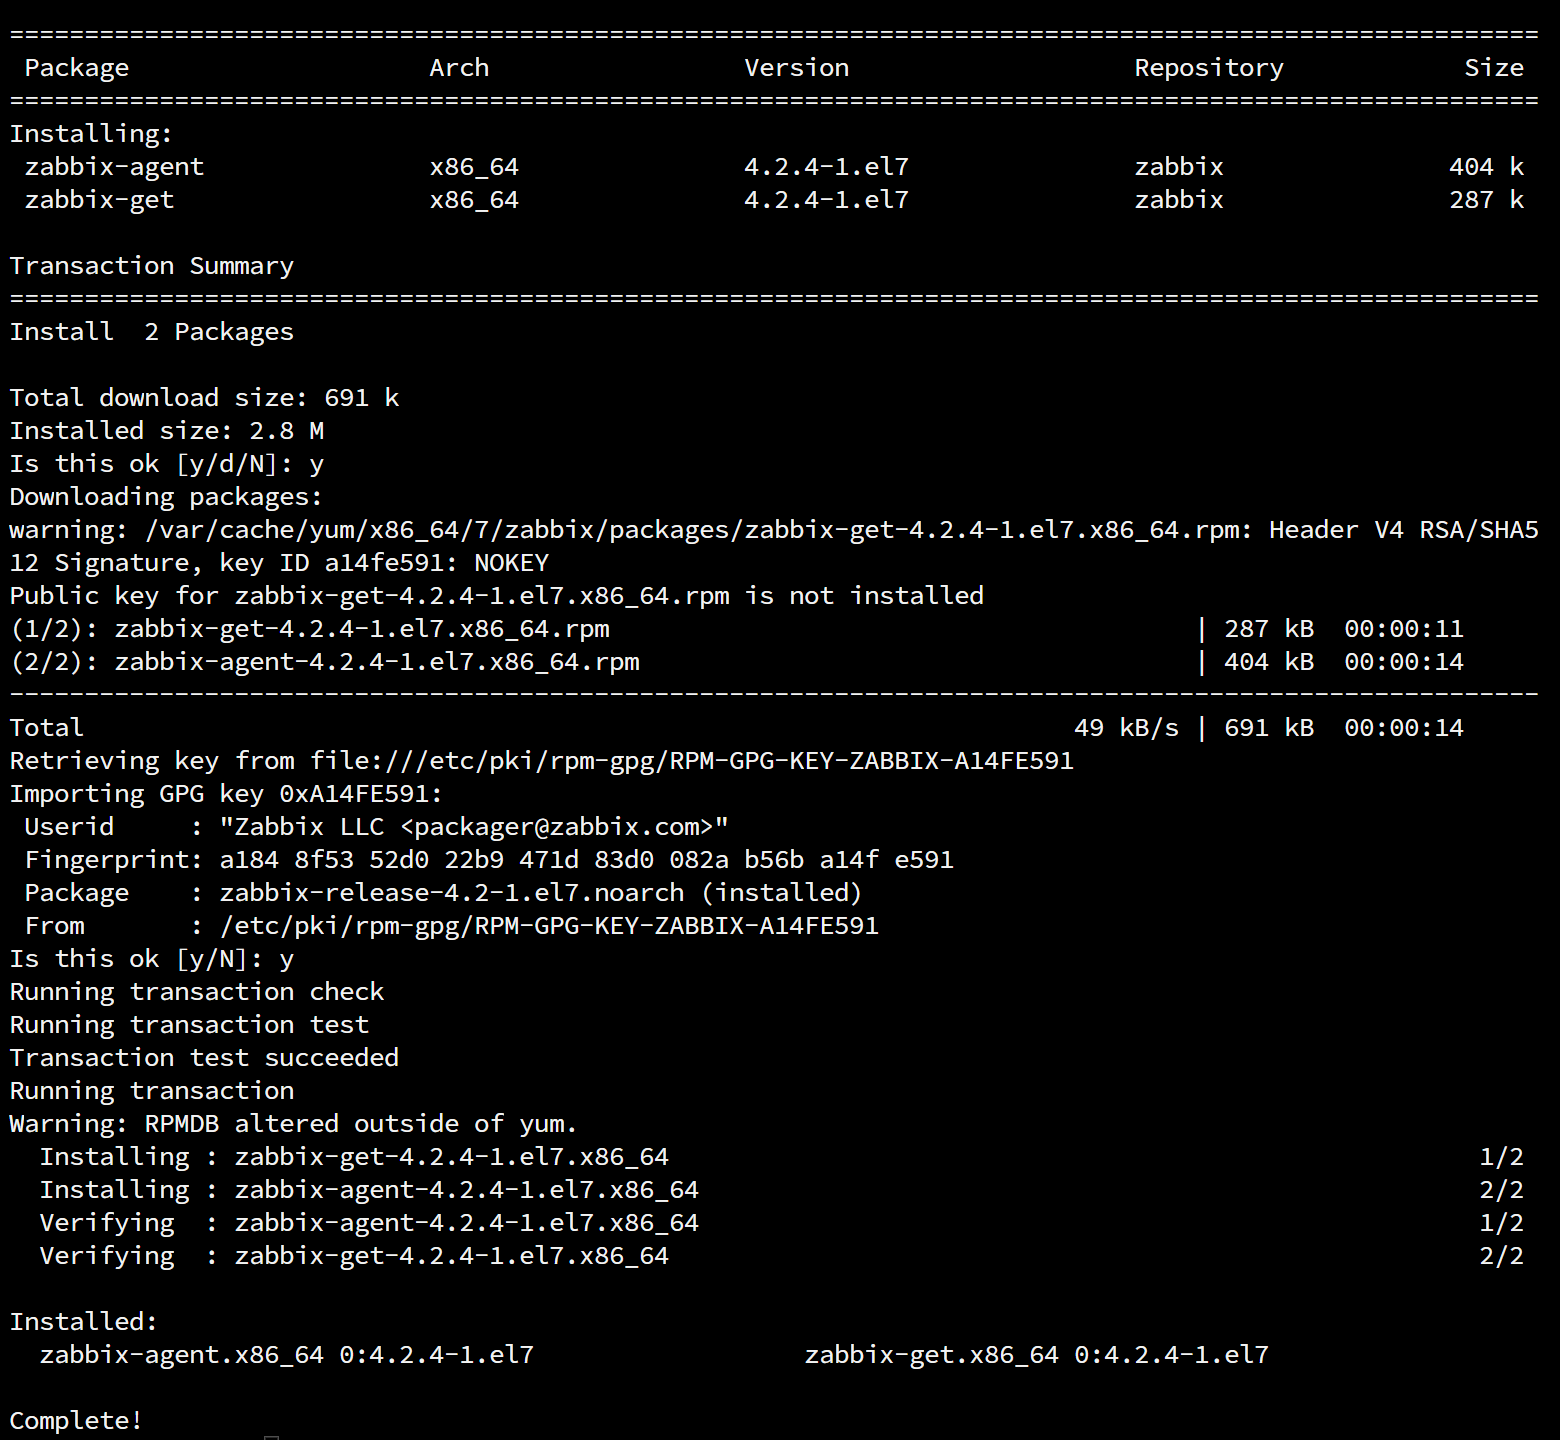
这里我们基本是重复上面3.1的步骤,但是最后安装的模块有点不同。
| rpm -Uvh https://repo.zabbix.com/zabbix/4.2/rhel/7/x86_64/zabbix-release-4.2-1.el7.noarch.rpm
yum clean all
yum install -y zabbix-agent zabbix-get
|
5.2 修改zabbix-agent配置文件
1
2
3
4
5
6
7
8
9
10
11
12
13
14
15
16
17
18
19
20
| vim /etc/zabbix/zabbix_agentd.conf
Server=zabbix-server内网IP
ServerActive=zabbix-server内网IP
Hostname=该agent节点的命名
systemctl start zabbix-agent
systemctl enable zabbix-agent
systemctl status zabbix-agent
|
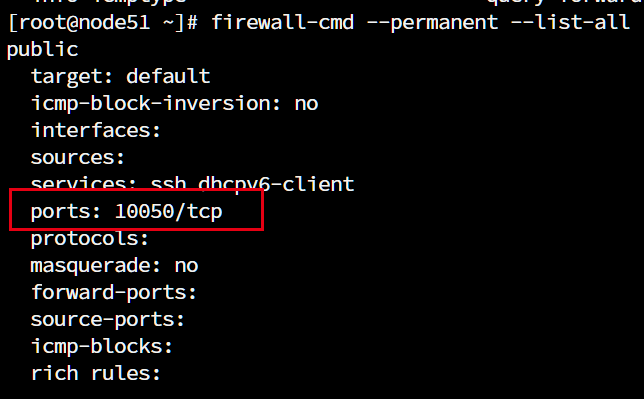
5.3 修改防火墙设置
|
firewall-cmd --permanent --add-port=10050/tcp
firewall-cmd --permanent --list-all
systemctl restart firewalld.service zabbix-agent.service
|

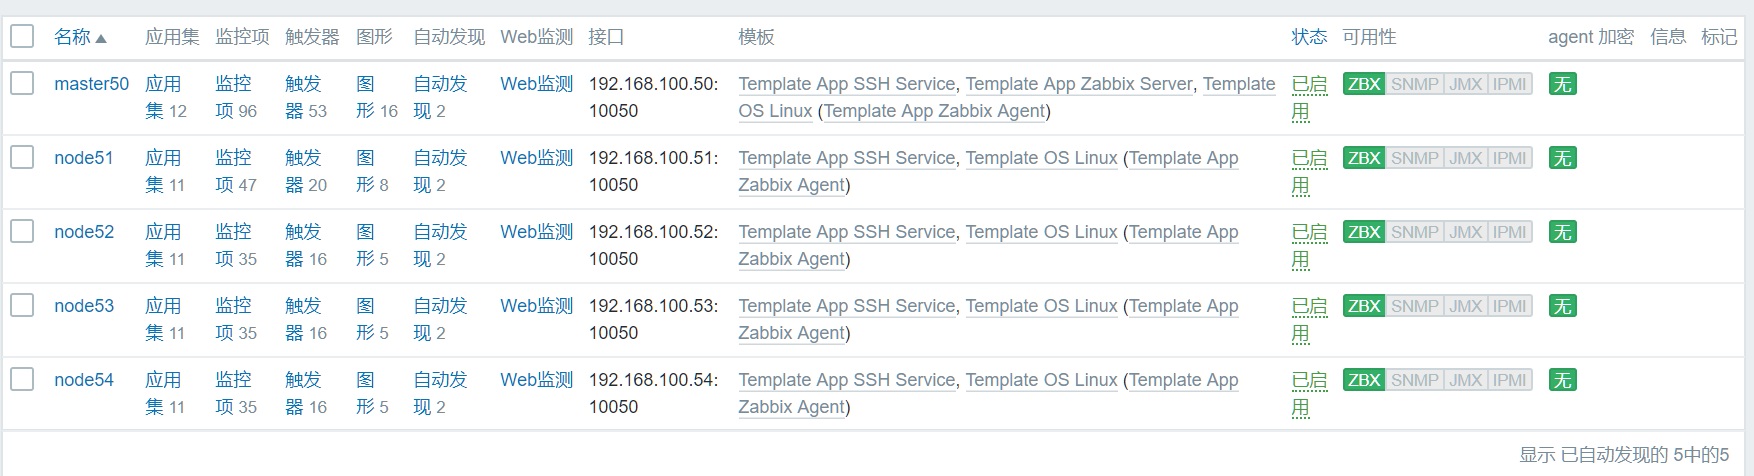
5.4 在web端添加监控主机
登录web端,点击配置→主机→创建主机

注意这里的主机名称要和配置文件中的hostname一致
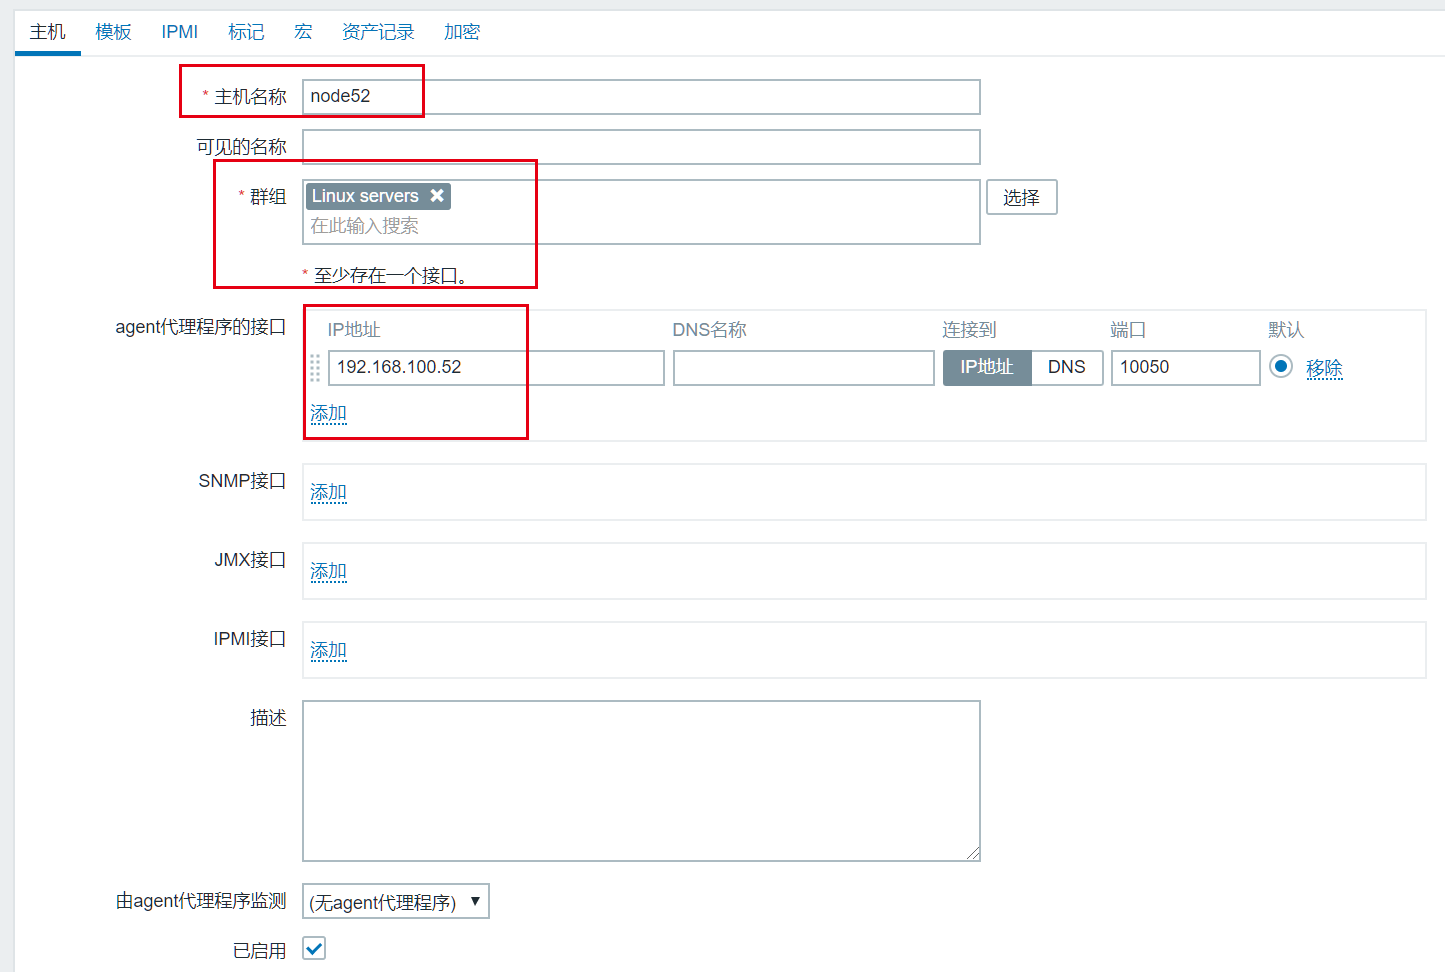
模板这里有提供很多预设的监控模板,我们可以直接选择
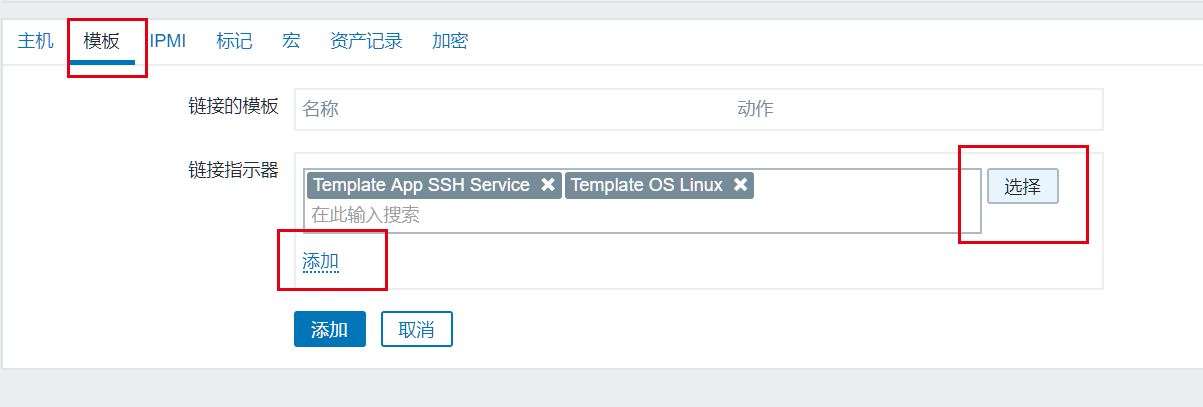

最后我们点击主机下面的添加,就可以成功添加主机了。
最后的整体效果如下